Reverse Engineering | Using iReal 2E to 3D Scan Industrial Parts
08/09/22
The need for reverse engineering has always taken a huge part in the market of 3D scanners. Reverse engineering tends to have higher requirements for accuracy, precision, and fineness.
Some of our customers have shared their stories with iReal 2E of how it helps with 3D scanning industrial parts in different situations.
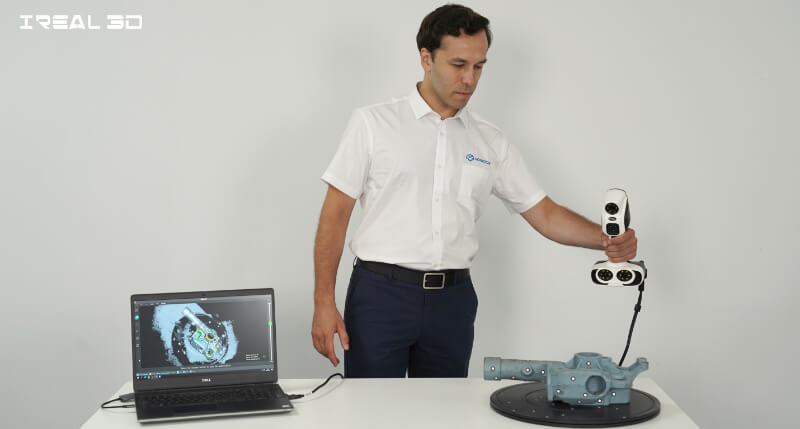
3D Scanning a Pump with iReal 2E
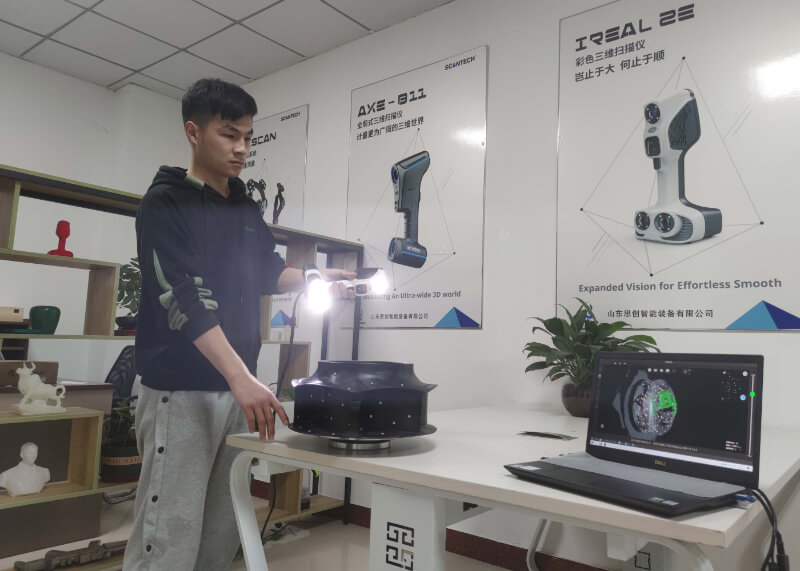
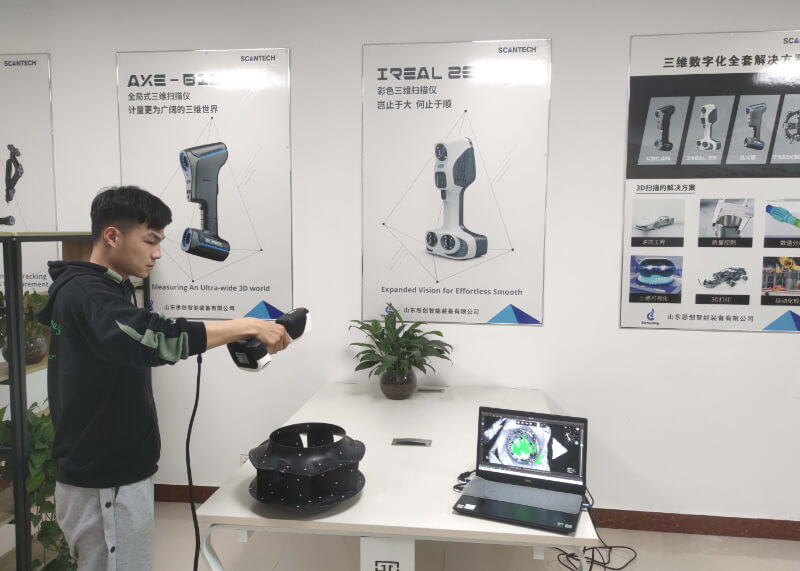
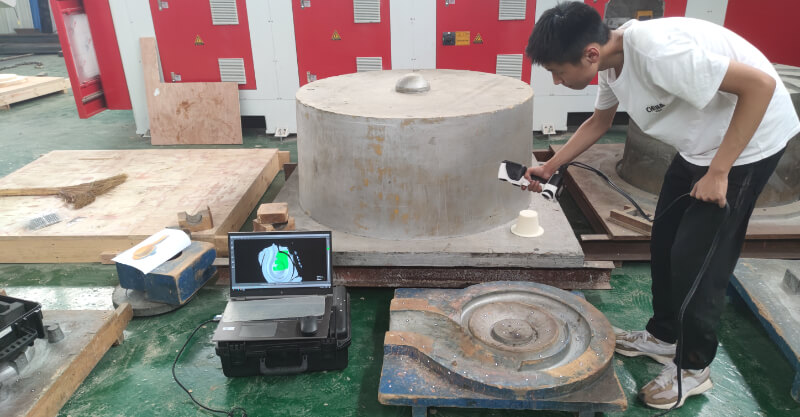
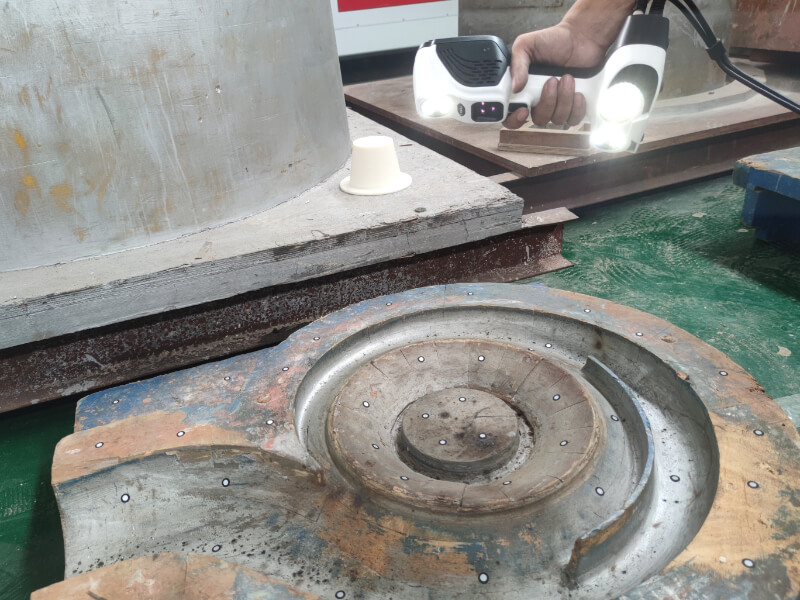
To achieve the 3D data with higher accuracy, we adopted the marker alignment mode to scan the pump, which means that the highest accuracy is up to 0.3 mm/m.
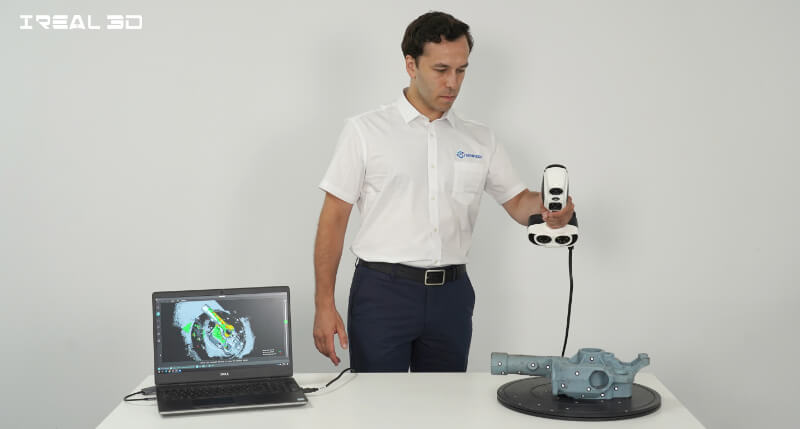
Put it on an automatic turntable so that we can scan it from a multi-angle without rotating it manually, then stick enough markers on the surface to ensure a smooth alignment process.
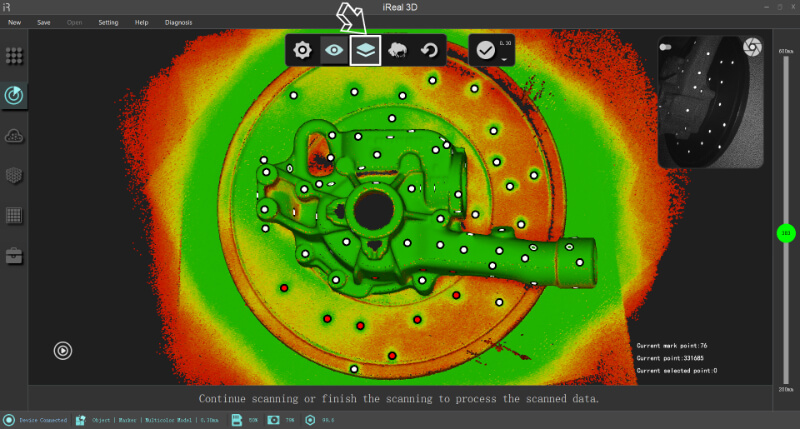
Meanwhile, the function of the “Data Quality Color Map” enables the operator to check the real-time scanning result.
The green light stands for the appropriate scanning distance, while the red light means the scanning distance is too far. The operator can adjust the distance between the scanner and the scanned object according to the lights.
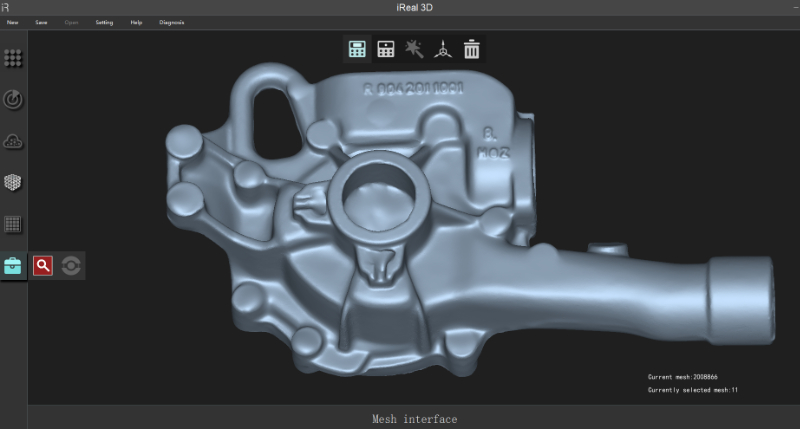
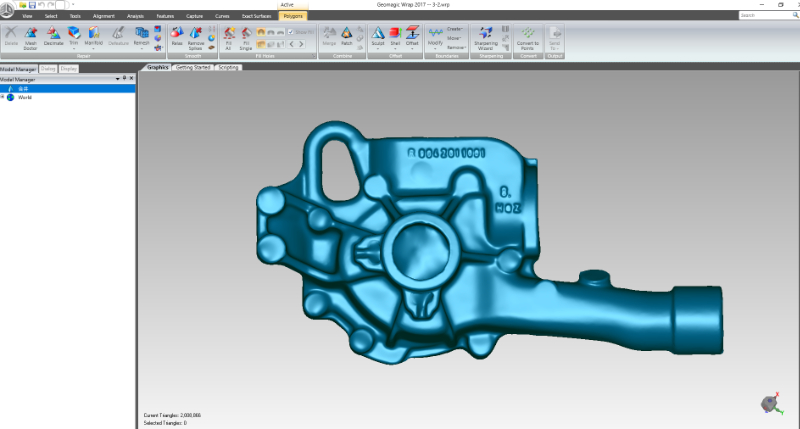
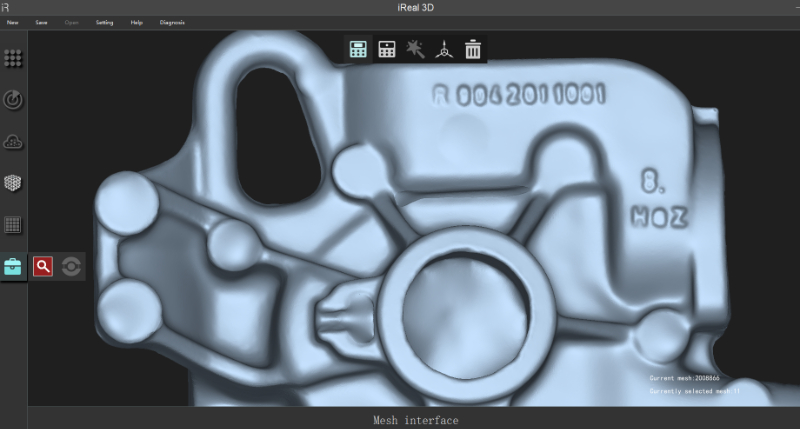
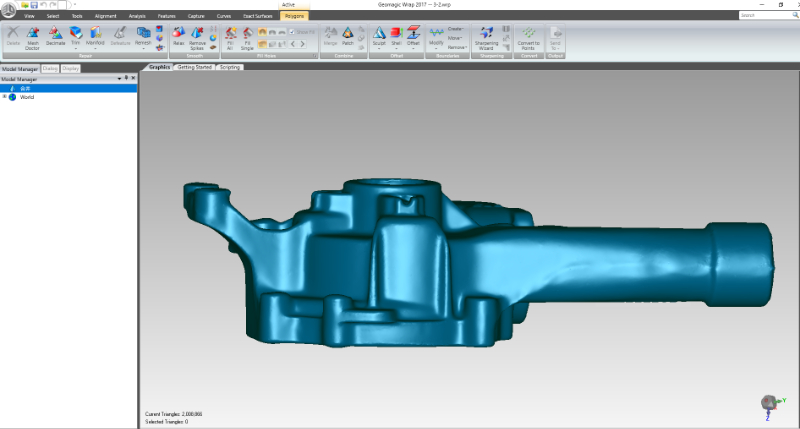
After obtaining the complete 3D data, we can switch to Geomagic Wrap in one click.
3D Scanning an Impeller with iReal 2E
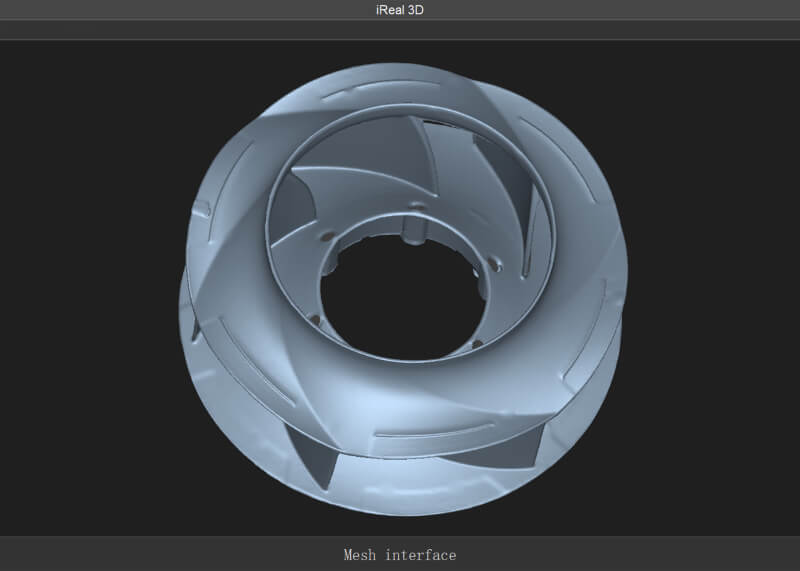
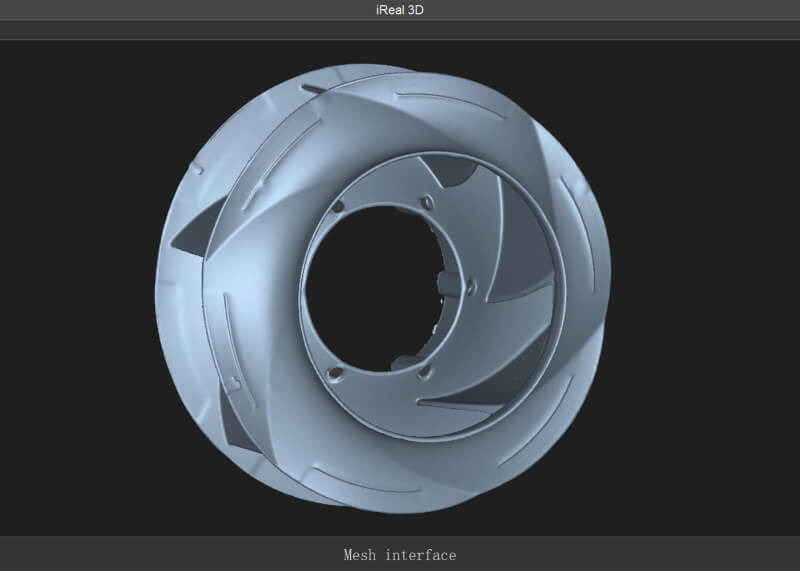
This type of application of 3d scanning can also be seen in 3D scanning an impeller. One of our resellers shared his experience of 3D scanning an impeller with iReal 2E. The scan mode is also the marker alignment mode. The scan time was 30 minutes including sticking markers and the 3D model was captured with a resolution of 0.5 mm.
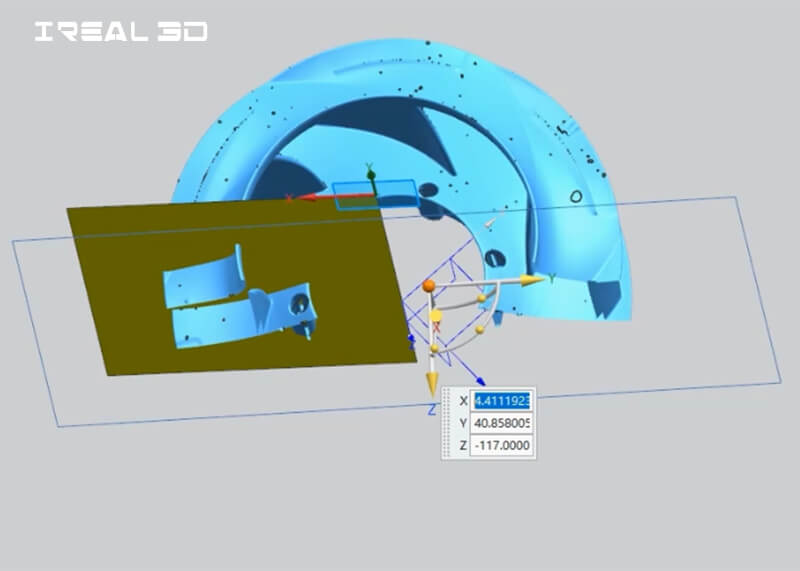
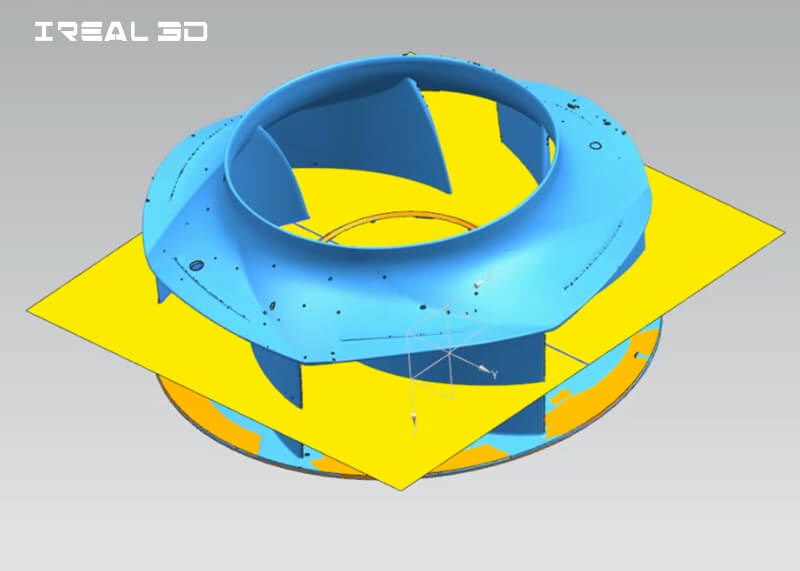
The rough steps of reverse engineering an impeller include:
● Create a vertical plane and sketch the closed curve of the section
● Revolve the sketch profile
● Create a horizontal plane and sketch the closed curve of the section
● Extrude to create a new solid body
● Use a circular pattern to generate copies of a feature and place them around a radial pattern
● Cut a solid body by removing material with a surface or plane
Some of the steps are shown below:
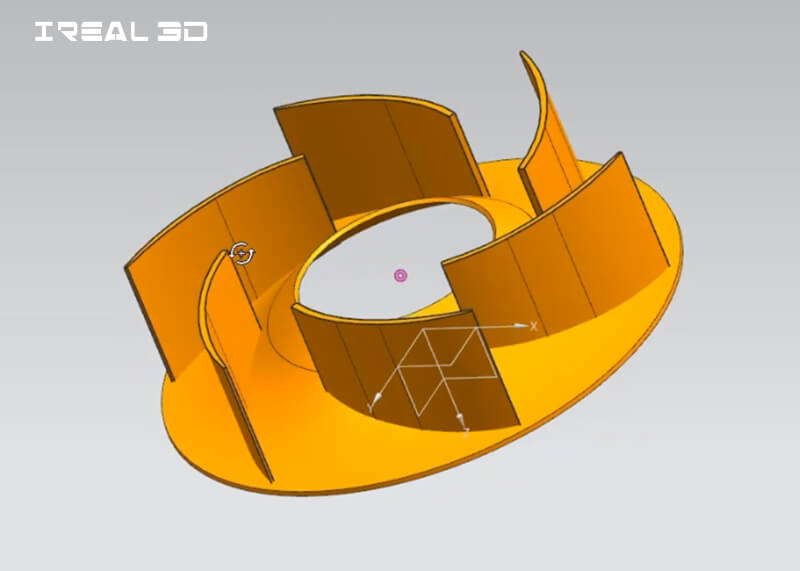
If we take a look at the 3D data, we can see that the data is relatively complete, some hard-to-scan places were captured successfully, including some dead corners.
3D scanning a metal part with iReal 2E
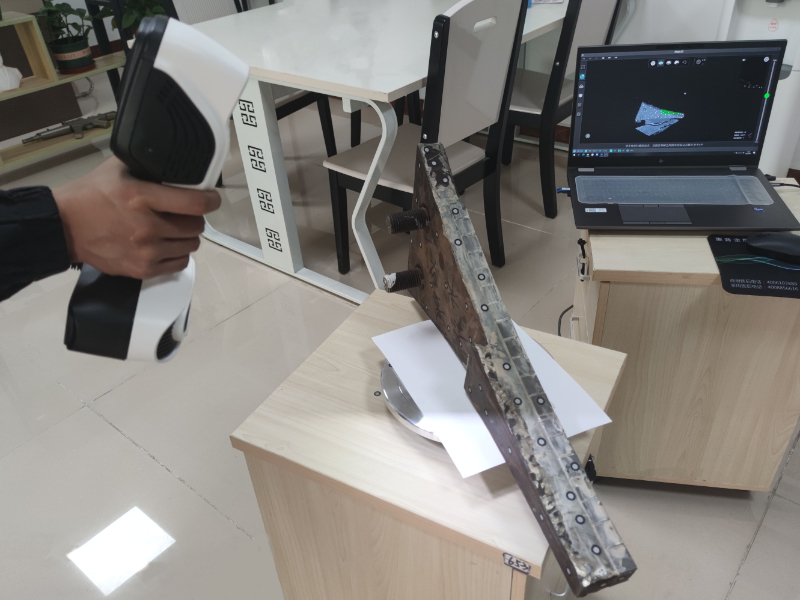
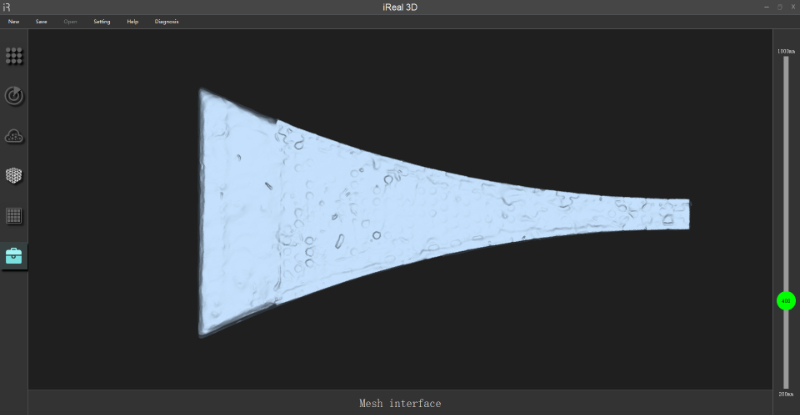
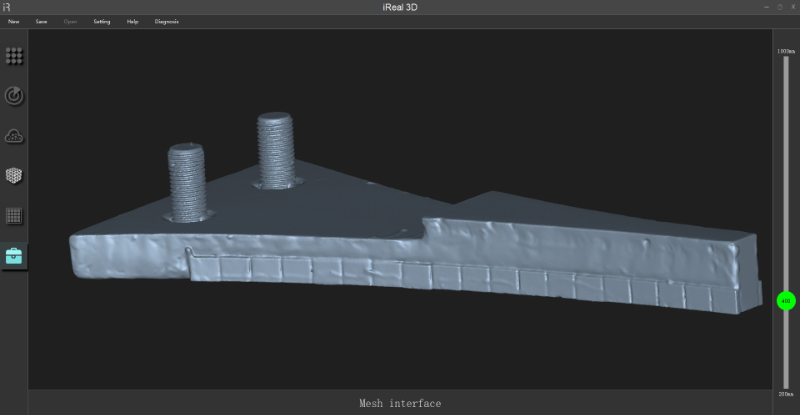
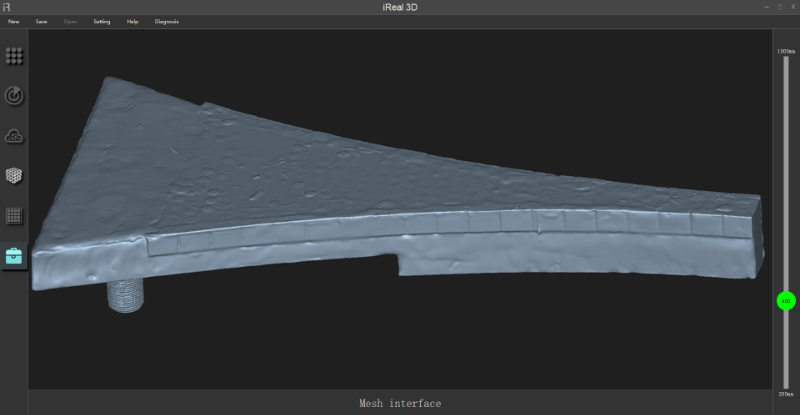
This metal part was also 3D scanned under the marker alignment mode of iReal 2E. The basic accuracy of iReal 2E reaches 0.1mm, and the alignment accuracy is up to 0.3 mm/m.
The entire scanning process is the same as the previous ones: sticking markers and 3D scanning. No need to do any special treatment to this metal part, such as spraying powder.
● Customer requirement on accuracy: 0.2mm
● Scan time: 15 mins
● Resolution: 0.2mm
3D Scanning a Wood Mold of the Pump with iReal 2E
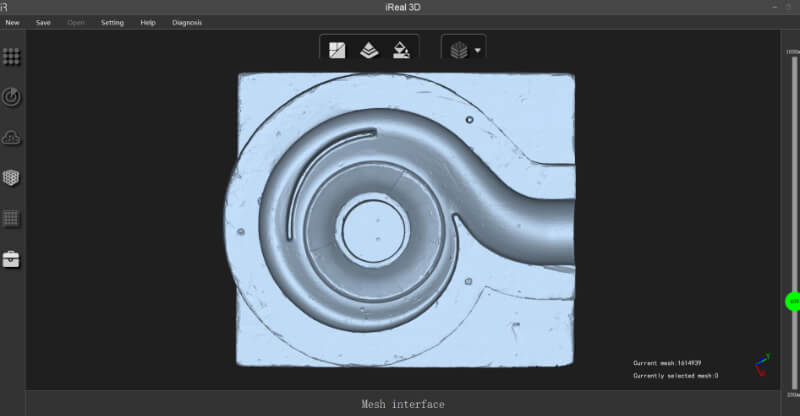
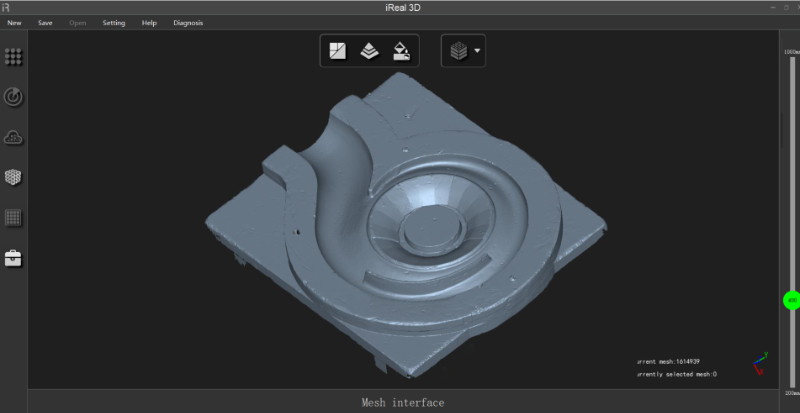
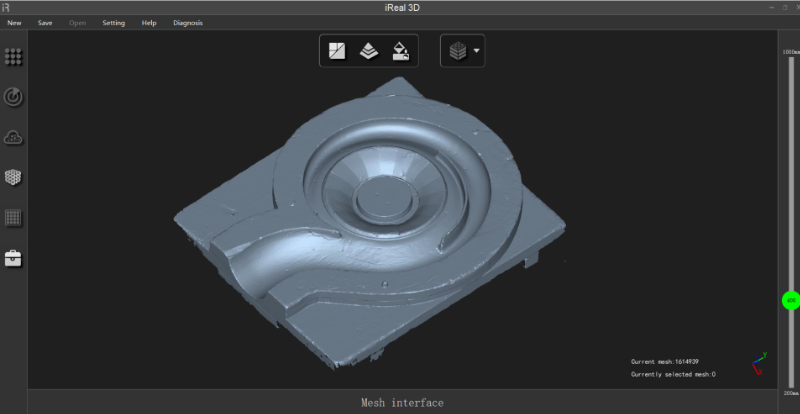
The engineer spent 5 minutes scanning the wooden pump using the iReal 2E 3D scan machine. Again, the marker alignment mode was adopted to ensure the highest accuracy, which reaches 0.3 mm/m.
The obtained 3D model can be used for innovative design and production and processing through reverse modeling.
Reminder: iReal 2E is suitable for 3D scanning human bodies and objects larger than 30 cm. If you don’t have very strict requirements for accuracy or you have a limited budget, you should consider the iReal 2E handheld 3D scanner.
For more stories between 3D scanning and reverse engineering, you can directly send us a message!
Related Articles
View Our Product


