Mastering the Art of 3D Scanning for Design: A Practical Approach
04/22/25
In the dynamic realm of design, innovation often hinges on the ability to capture and manipulate real – world objects with precision. 3D scanning for design has emerged as a powerful tool, enabling designers to bridge the gap between physical and digital worlds. This technology offers a plethora of possibilities, from enhancing product development to breathing new life into creative projects.
The Power of Metrology – Grade 3D Scanning
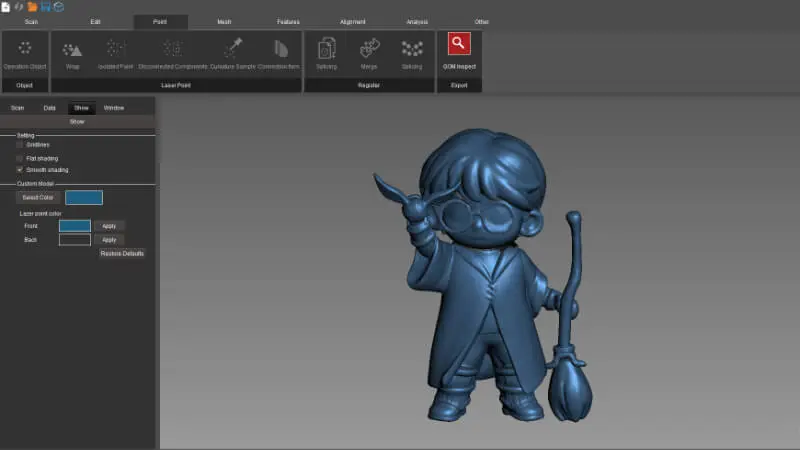
At the heart of effective 3D scanning for design lies the use of high – quality scanning equipment. A metrology – grade 3D laser scanner, for instance, is designed to capture highly accurate three – dimensional data. Consider the example of digitizing a Harry Potter toy. Such a scanner can meticulously record every curve, detail, and texture of the object, ensuring that the digital model is a faithful representation of the original.
Before initiating the scan, a simple yet crucial step is to place marker stickers around the toy. These markers serve as reference points, aiding in the alignment process. This preparation ensures that the scanner can accurately piece together the various data points collected during the scan. In just a matter of minutes, the scanner can gather complete 3D data, a testament to the efficiency of modern 3D scanning for design technology.
A Step – by – Step Guide to Transforming Scanned Data
Once the 3D data is collected, the journey of transforming it into a usable design asset begins. The first step involves importing the STL file, a common 3D data format, into Blender, a popular 3D modeling software. This initial import is the gateway to unlocking the potential of the scanned data.
Next, unfolding the UV is a critical process. UV unwrapping flattens the 3D model’s surface onto a 2D plane, which is essential for applying textures and materials later on. Following this, 3D texturing comes into play. This step involves adding detailed textures and colors to the model, making it look more realistic and true to the original object.
After texturing, 3D model optimization is a crucial step in the 3D scanning for design workflow. This process involves carefully refining the model by identifying and reducing unnecessary polygons, which can bloat file sizes and slow down processing speeds. By optimizing the model, we enhance its overall performance, ensuring smooth operation across different platforms. Whether the model is intended for 3D printing, virtual reality experiences, or digital visualization projects, optimization guarantees its compatibility and functionality. The final step, rendering, then takes the optimized 3D model and transforms it into a high – quality image or animation, bringing the design to life with stunning detail and realism.
Enhancing Design Possibilities
The applications of 3D scanning for design are vast and varied. For product designers, it allows for the rapid prototyping of new ideas. By scanning existing objects or components, designers can analyze their structure and functionality, and then make informed modifications. In the creative industries, such as art and entertainment, 3D scanning for design can be used to digitize unique sculptures or props, opening up new avenues for digital storytelling and immersive experiences.
We understand the value that 3D scanning for design brings to various projects. Like the approach taken by 3DeVOK, we believe that almost anything in the world can be 3D digitized. This technology not only streamlines the design process but also encourages innovation by providing designers with a wealth of accurate data to work with.
Conclusion
In conclusion, 3D scanning for design, when combined with a well – defined workflow, offers immense potential for designers across different fields. From the initial data capture using a metrology – grade scanner to the final rendering of a digital model, each step plays a crucial role in unlocking new design possibilities and bringing creative visions to life.
Related Articles


View Our Product
