How to Scan a Physical Object for 3D Printing?
03/25/25
In the world of 3D printing, the process of scanning a physical object is a critical first step to creating digital models that can be printed with precision. As companies explore ways to incorporate 3D printing into their workflow, understanding how to properly scan an object is essential. At 3DeVOK, we focus on providing practical solutions to streamline the scanning process and make it easier for businesses to adopt 3D printing technology.
Efficient Methods for Scanning Physical Objects in 3D
Before diving into the technicalities of scanning, it’s important to understand what 3D scanning involves. Simply put, it is the process of capturing the physical dimensions, geometry, and surface details of an object to create a precise digital 3D model. This model can then be used for a wide range of applications, including prototyping, manufacturing, and design optimization.
When it comes to scanning, there are several methods to choose from, each offering its own set of benefits depending on the type of object being scanned. Laser scanning and structured light scanning are two popular techniques. Laser scanning uses lasers to measure the surface of an object, while structured light scanning uses projected light patterns to capture detailed surface data. Understanding which method suits your specific project can make a big difference in the quality and accuracy of the resulting 3D model.
Choosing the Right Scanner for Your Needs
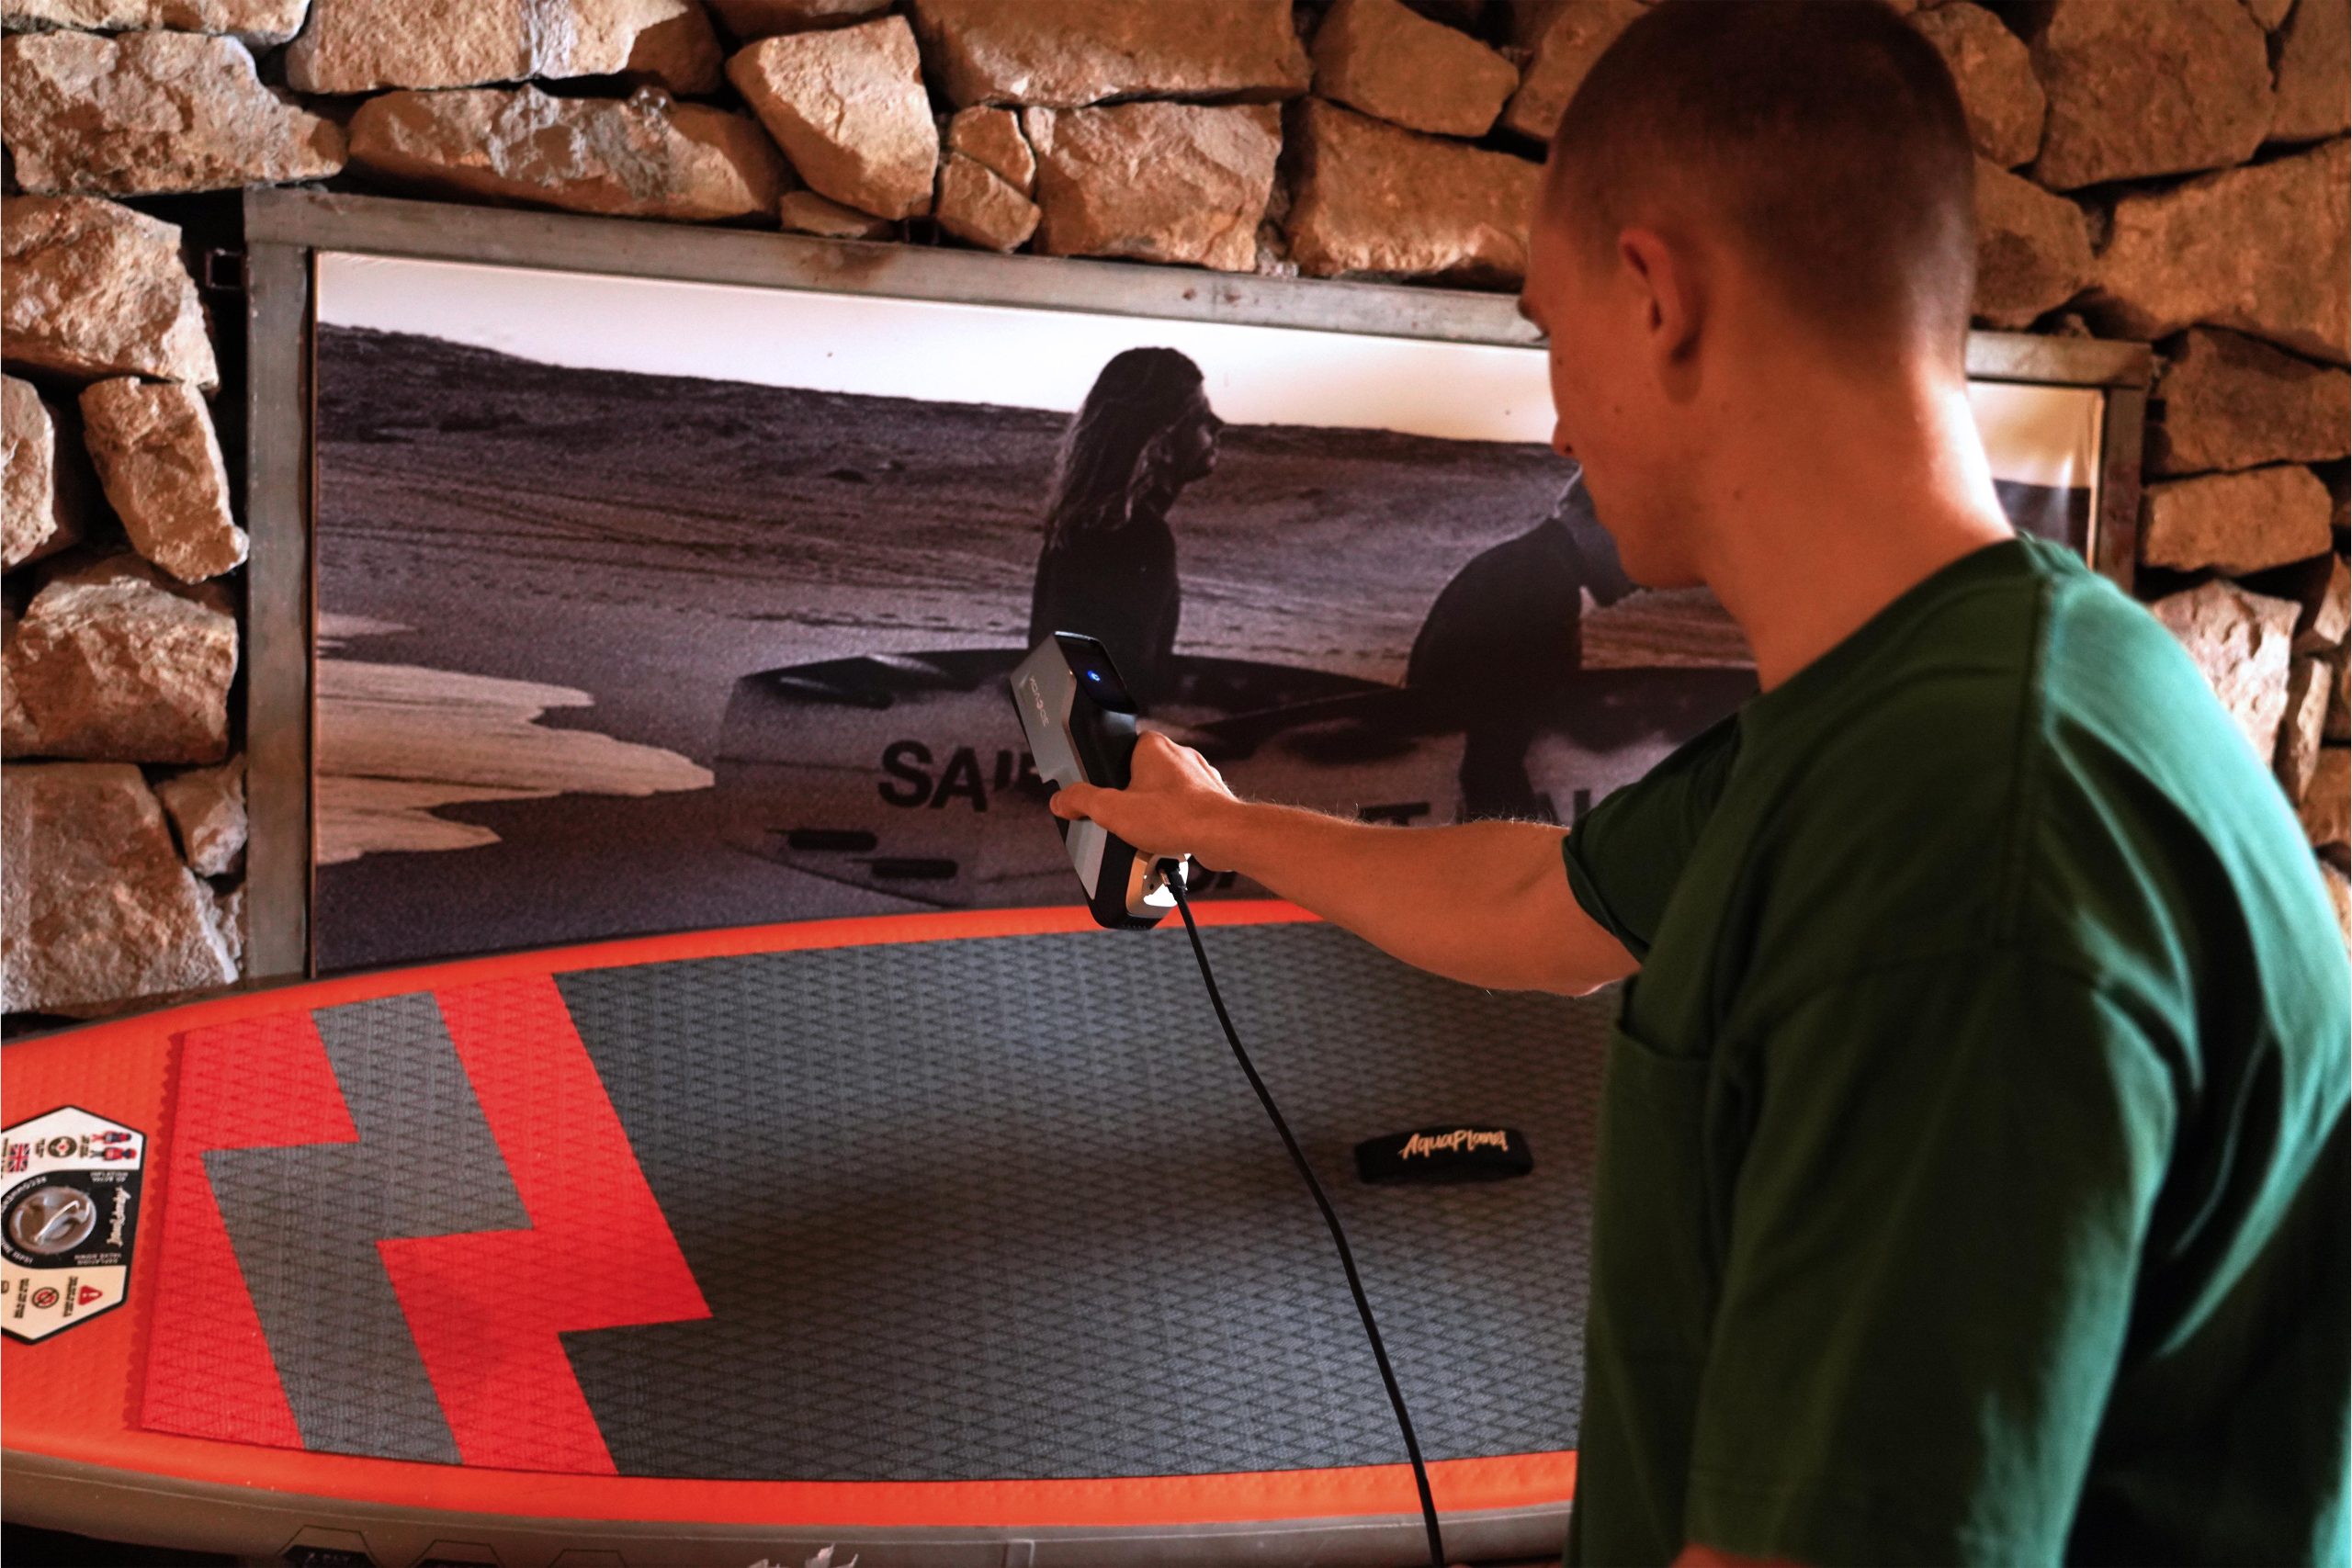
Selecting the appropriate 3D printer scanner depends on a number of factors, including the size, material, and complexity of the object you’re scanning. For businesses that need to scan large or intricate objects, high-resolution scanners may be necessary. Smaller objects may be adequately scanned with a desktop 3D scanner.
Our team recommends considering a scanner that offers flexibility and ease of use. Some scanners are optimized for specific applications, such as scanning mechanical parts, while others are better suited for capturing the textures of organic shapes. In addition to the type of object being scanned, think about the scanning environment. For instance, ensure you have good lighting and enough space to position the object for optimal results.
Steps to Properly Scan Objects for 3D Printing
Once you’ve chosen the right 3D printer scanner and supporting equipment, the next crucial step is properly preparing the object for scanning. Start by thoroughly cleaning the object to remove any dust, dirt, or smudges, as these can distort the scan results. If the object has reflective, shiny, or transparent surfaces, consider applying a temporary matte spray or coating. This helps reduce glare and ensures the scanner captures accurate surface details, resulting in a higher-quality and more precise 3D model.
To begin scanning, place the object on a stable surface and, if possible, position the scanner in a way that it can capture the entire object. For more complex shapes, you may need to scan the object from multiple angles to ensure all details are captured.
After scanning, it’s time to process the data. The 3D printer scanner will provide a mesh or point cloud that needs to be converted into a usable 3D file format, such as STL or OBJ. At this stage, it’s common to use software to clean up the scan, remove noise, and ensure the model is ready for 3D printing.
Conclusion
Scanning a physical object for 3D printing can seem like a complicated task, but with the right tools and techniques, it becomes an essential part of the digital manufacturing process. By choosing the right scanning method, selecting appropriate equipment, and properly preparing your object, we can ensure a smooth transition from physical object to 3D model.
Related Articles


View Our Product
